Tuesday, October 29, 2013

Metro Pearls Bracelets


These bracelets are simply chic; the champagne color of the wire and gold rings, plus the matte shine of the pearls makes for a very "cocktail hour" type of bracelet! The contrast between the classic pearls and more industrial look of the exposed wire and metal rings makes for a truly unique piece of wrist candy!


All of my materials came from Cousin Corporation; the beading wire and jumprings I used are Beadalon Brand, which are now sold by Cousin! These materials are great and high quality, and are very versatile. In this tutorial, I use jumprings as beads instead of the traditional chainmaille application. 


I named them "Metro Pearls Bracelets" because they feel much more metropolitan to me than traditional. Plus, the channel crystal bead in the center is a more contemporary take on the classic rhinestone! 
Let's get started!


Step 1: Gather materials. Needed are pliers, a clasp, crystal spacers (mine from Cousin), Beadalon Champagne Stringing Wire (mine from Cousin), 6mm or 8mm pearls (mine from Cousin), and Beadalon Artistic Wire jump rings (mine from Cousin) in gold or brass.
These jumprings are great because they are non-tarnish! 


First off, make sure you close all the jumprings; in the pack, they aren't fully closed. Simply close with your pliers by twisting, NOT pulling, so that the ends meet up together.

Step 2: Measure your wrist, now add 2". Now, double that length and cut your Beadalon wire to that length. Fold your wire in half and string on your clasp. String on your crimp through both wires and crimp shut right against the clasp. Now, string on a pearl on each wires, then a jumpring through both wires, creating a group. Keep up with this technique until you reach the center of your bracelet. For the center motif, string on three jumprings through both wires, then your crystal spacer, then three more rings. Then, continue your pattern until your end. To end, simply string on a crimp through both wires, then a jumpring; string back through the crimp, pull tight, and crimp. Cut with your pliers flush so the wire doesn't stick out. 


These are addicting to make! They are so totally fast, and there are no hard techniques involved. They look ultra chic because of the mix of classy pearls and contemporary metal wire, and would be great to give as gifts for any occasion. 


These are great stacking bracelets, because they sit together nicely and can be made with different size pearls. I used 6mm pearls for the champagne and mocha colored bracelets, and 8mm for the dusty grey bracelet.


If you share/use/post this tutorial, you must link back to me please. All photos  
copyright Allison Beth Cooling. Do not use photos without crediting me!


Thursday, October 24, 2013

Behind the Chandelier Earrings


These Perriwinkle Frost Chandeliers by Phillipa Kunisch at Anthropologie are so dainty and elegant. I love the use of only wire and crystal to make such an intricate earring! These inspired me to make a version of my own.


I really love gold, and these two-tone crystals by Cousin were the perfect choice to use because of their gilded look! That paired with the thin, textured twisting of the wire and dangles that flow in the air make for a pair of sure statement earrings! For my DIY version, I used smaller crystals, but more of them, to create even more sparkle.


People will have no idea that you made these yourself, trust me! They will be great for wearing to upcoming holiday parties or any other special events.


Did I mention that they are super lightweight?? Seriously, usually chandeliers are lobe-stretching heavy, but these are light and airy, which is good for everyone!
Let's get started.


Step 1: Gather materials. All you need are pliers, gold earwires, 24g gold wire (mine from Cousin) and 4mm or 5mm crystals (mine from Cousin).


Step 2: Make wrapped links with two of your crystals, cutting the wire flush to finish. Cutting the wire flush on each link will be key here, to keep a clean look to your earrings! Add the top loop of each link to the earwire.


Step 3: Make two more links, but this time with two crystals per link. Cut about 6" of wire, string on the links you just made AND the bottom loop of the link attached to the ear wire, and group all these links together by holding the joint with your roundnose pliers and twisting the wire against itself with your other hand. It should look like this (bottom pic).


Step 4: Continue wrapping the wire until it is about 2cm long, and finish with a wrapped loop.
I repeated the last step and this step for the other earring.


Step 5: To make the cross-section, add on another 6" piece of wire on the open end of one of the 2-bead links. Fold in half and then start twisting the wire on itself, like in step 3; when the wrap is about .5" long, insert the vertical twisted wire inbetween the wires, and twist tightly to hold in place; twist another .5" until you reach the other side of the earring; finish off this horizontal piece by ending with a loop, catching the 2-crystal link's open end into the loop. It should look like this (last picture).


Step 6: Add two 1-bead links to either side of the horizontal crossbar. To add the chandeliers, cut about a 4" piece of wire, and fold in half. At the half, make a small loop and then twist the wire upon itself just like how you have been doing. When you reach a little over 1cm of a twist, insert the top loop of the 1-bead link you added, and twist tightly to secure like you did with the vertical crossbar in the last step. Finish off with another 1cm of wrapping, then end with a loop. Repeat with the other side of the earring. Add 1-bead links to the empty loops  on the chandeliers (4 in total).


Step 7: Add a final chandelier to the bottom loop of the central bead link, then add 1-bead links to the empty ends of the chandelier. To add the crystal finishes in the center, cut about a 5" piece of wire, and fold in half. Thread on to the side of the horizontal crossbar, right at the halfway mark, and twist to secure. Add three crystals, then thread through the vertical crossbar, then another 3 crystals. Wrap at the other side of the horizontal crossbar to secure, and cut flush. The arrows show where to start the wrap, and the thread-between of the vertical crossbar!


To finalize, add one more crystal drop at the center chandelier. 


Even though these earrings look expensive, they are so cheap to make! The materials cost less than $10 all together, while the Anthropologie version is about $250. 


You can make these in all colors of crystals; try using silver wire if you like silver, or maybe a copper wire would look cool with some turquoise-colored crystals, for a western-inspired look?! The possibilities are endless!


If you share/use/post this tutorial, you must link back to me please. All Photos (except Anthropologie one) 
copyright Allison Beth Cooling. Do not use photos without crediting me!


Friday, October 18, 2013

Rocker Wrap Bracelet; For Girls or Guys!


As you all already know, the Punk fall trend is in full swing! So for this tutorial, I decided to make a cool wrap bracelet with slick metal beads that can go with basically anything. Girls or guys can wear it, as it is pretty neutral and would be a great addition to any outfit.


It only takes a simple technique of wrapping between two outer cords to make, and can also be customized to your tastes; use different colored metal beads, or even gemstone rounds instead of the silver ones I have picked! However, these great silver acrylic beads by Cousin have a faceted cut that allows for maximum sparkle and shine, so I highly recommend them. You can follow Cousin here on Twitter for new product updates and more!
If you are in the mood for more Punk, head over to my Punk Nails tutorial.....that manicure will definitely look awesome when paired with this bracelet! 


This tutorial makes a bracelet that is about 2.5' long, which wraps perfectly 5 times around my wrist. You may need to alter the length a little bit to make sure it will fit you!
Let's get started.


Step 1: Gather materials. Needed are pliers and scissors, 6mm acrylic silver rondelles (from Cousin), black cord (from Cousin)--also called "rat-tail cord", clear monofilament (from Cousin) and a silver button (for closing).


Step 2: Cut about 7' of your monifilament. Cut about 5' of your black cord, and string on the button. Make sure the button is in the center of the cord, and make a knot, securing the button in place. Tie a tight knot (use your pliers to pull snug) with the end of your monofilament right up against the knot to secure. Cut the small amount excess string when done.


Step 3: String on one silver bead. Bring the monofilament in front of your righthand black cord, then behind it and through the hole of the bead again. Pull snug; the bead should be caught in place and the monofilament looped around the righthand cord. Bring the cord behind the lefthand cord, then around towards the front; add on another bead. Repeat what you just did by bringing it in front of the righthand cord, then looping behind and through the hole of this bead. Pull snug again. The bead should look exactly like the last one, caught in place with the monofilament looped again around the righthand cord. 
Keep repeating this same technique....


Step 4: Repeat the tecnhique all the way until your bracelet is the desired length, I made mine 2.5'. When it is the desired length (make sure it wraps at least 3 times around your wrist), simply tie all 3 cords together in a tight knot. I tied the monofilament into a small knot again so it wouldn't slip through the bigger knot, then I added a bit of glue to secure. I then cut the monofilament after this knot. Leave about a half inch or so (enough for your button to snugly fit through) and tie another overhand knot with the two black cords. Cut excess string off.


Two wear, simply wrap and secure closed with your button closure! It helps, when doing the bead wraps, to hold the panel with your left hand and wrap with your right. It is a bit tricky at first because the monofilament will be so long and it tends to get tangled. Just go slow and you will get the hang of it!!


See? Great for guys too! If you aren't into metal, use wood beads for a guy's bracelet or even lava beads for a cool textural effect. For girls, sparkly crystals would be awesome as well!

If you share/use/post this tutorial, you must link back to me please. All photos 
copyright Allison Beth Cooling. Do not use photos without crediting me!


Thursday, October 17, 2013

Guest Post: The English Rose Design


This is my second guest post! 
I was contacted by Stephanie from The English Rose Design, where she sells her handmade statement jewelry to the masses. Her jewelry is all about cool, unique accessories that compliment any outfit and and add a personal touch that is truly one-of-a-kind!

Taken from Stephanie's Etsy shop:
All the handmade jewellery that is created on TER Design has a personal story behind and is intended for the strong, independent and fashion-savvy young women and men, but also those who feel young at heart. They are for everyone who has something to say and wants to express themselves through fashion and especially through the accessories.

I asked her if I could do a short interview, to help readers get to know her and her style better! Here is the interview.....

When did you start making jewelry?
I have been making jewelry for myself for as long as I can remember. I have always loved to wear unique items and for this reason I have started really young to make my own accessories and tweeking and personalizing my own clothes. I have started to actually sell them to my family and friends only since last year and as I saw my business growing and how much success my pieces of jewelry were having, I decided to create the brand and start to sell them to a wider market!

What are your favorite jewelry materials to work with?
I love working with chains that I like to weave and combine them creating completely different designs. I love using them for long necklaces and bracelets, together with charms, leather or ribbon. Another thing that I love working with is jewellery wire that I use a lot in all my rings!


Where do you find the most inspiration to make your jewelry?
I draw inspiration from other people and from my own style! I used to be a fashion stylist and for me it comes quite automatic now to see an outfit and visualize exactly the right accessories that could go with it. An idea for a new piece of jewelry would suddenly come to me when I look at an outfit that I wear (but also from other people's outfits that I see in the street) and think "it's lacking of something", and my mind would start to picture the exact item that would make the outfit look special and unique. This is why all my jewellery is designed to make a statement and a real difference in everyday's looks!

What jewelry piece of yours is your personal favorite?
My absolute favourite is the gold woven chain bracelet https://www.etsy.com/listing/157113756/gold-woven-chain-bracelet-with-black?ref=shop_home_feat ! I literally wear it every day  as it is so elegant but also eye-catching. In short, a real statement, which is what I believe jewelry should be!

What jewelry-making techniques are your favorite?
There isn't really a technique that I prefer, because what I really like is to keep experimenting with new ones and always learn new things. So, there will be a week when my favorite technique would be crochet, then one when it's beading, then again working with metal. It really depends on what my "latest obsession" is really!


Be sure to check her out on her Etsy shop, and Like her Facebook page! 
Thanks for reading!!


Saturday, October 12, 2013

I'm Featured in DIY Beading Magazine! Subscribe for Free!


My Strawberry Necklace tutorial is published in issue #9 of DIY Beading Magazine! You can subscribe for free to the magazine in the iTunes store here!
Also, I'm a contributer to Handmade Jewelry Club- follow them on Facebook and Twitter for great DIY tutorials from all different crafters.

Thursday, October 10, 2013

'Tis The Season, Twinkle Star Dreamcatcher!


Twinkle Twinkle little stars......
Announcing my second official Cousin Corporation 'Tis The Season project! (You can view my first, Swirl Mint Bobby Pins, here)... We were asked to create both a jewelry and non-jewelry item, this post obviously being the latter of the two.
This intricate dreamcatcher is what I imagined as a more modern holiday decoration; I have a love for dreamcatchers, and basically anything with feathers (see my feather earring posts here, here and here!), so I took inspiration in a traditional dreamcatcher to make my Twinkle Star version....
I love holiday decorations that focus on mixing metals or incorporating shiny stuff! Silver bells, metallic garlands, super-shiny ornaments and the like are more my style when decorating for the holidays; the shinier, the glitzier, the better! That's why I sought to create this dreamcatcher, mixing both crystal elements, metal charms, dainty chain and everything in-between to create a super original, super gorgeous decoration! We will start by making a bead frame out of wire, then wrapping it. After that, it's about adding chain and charms.


This dreamcatcher also isn't holiday-specific. You could leave it up for the whole winter if you want! If you wanted to be really ambitious, you could make some of these for your friends or family for the holidays. I always say handmade items have far more value than something you bought in a store.

All the materials used here were from Cousin Corporation, most being part of their new 'Tis the Season line, which can be found at AC Moore stores and Beverly's fabrics (for California readers!).  This 'Tis the Season line features all different cute charms, beads and findings that are super cute and great for making all sorts of jewelry or crafts! The whole collection can be seen here, or buy them at Prima bead online!
To follow Beverly's on Facebook, click here!
To follow AC Moore on Facebook, click here! 
To follow Cousin on Facebook, click here!
Both have great jewelry ideas, tutorials, promotions, sales and other cool things for craft DIY-ers!
Without further ado, let's get started! * This tutorial is NOT for very beginners! It's more complicated than most of my tutorials, but you CAN do it!!!! *

**ANY QUESTIONS ABOUT THIS TUTORIAL, LEAVE IN THE COMMENTS BELOW! I WILL ANSWER YOU!!**

Step 1: Gather materials. Needed are pliers, a small star cookie cutter (about 2" wide or so), 24G Gold Cousin Brand Wire, Jingle Bell Charms (mine from Cousin Corporation), Snowflake Charms (mine from Cousin), and 8mm Round Faceted Beads (mine from Cousin Corporation) and jumprings. 
You will also need thin white chain, about 1.7mm or 2mm, 4mm clear crystals, and 10mm white pearls.


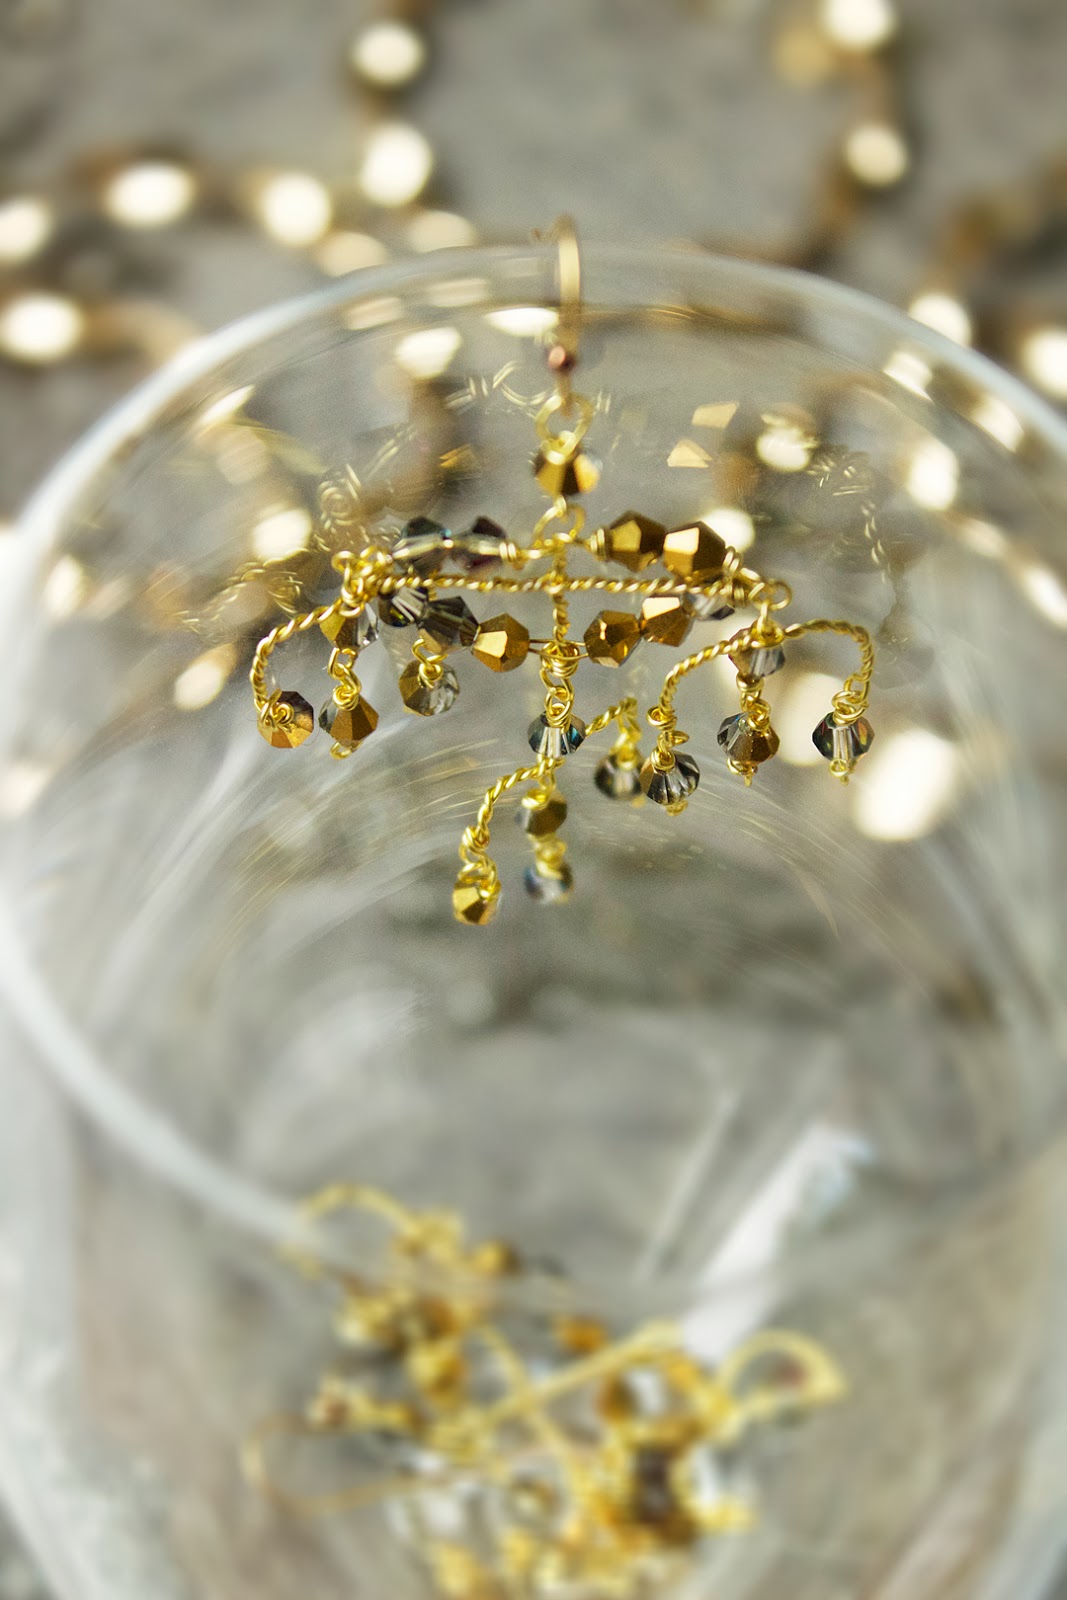
Step 2: Cut about a foot of your gold wire. Twist it like in my UO Heart Necklace (below) but DO NOT fold in half into a "V". Instead, form around your cookie cutter, and with the excess wire create a top wrapped loop. Cut flush. Make 8 stars.


Step 3: With your gold wire, wrap about 10 times around a biscuit cutter or glass to create a large frame for your dreamcatcher. Where both ends meet, take a 3" piece of wire and wrap around these ends to secure, then cut the wire flush.


Step 4: You should have a large frame (first picture). With about 2' of wire, an inch from the end wrap about 5 times right up against your wrap in Step 3. Add on your 8mm Faceted Bead, and wrap your wire about 3 times after this bead, pulling nice and tight. Your first bead wrap should look like mine above.


Step 5: Continue wrapping, until you have finished the whole frame. Your amount of beads and amount of wire will vary depending on what size you want your dreamcatcher. Mine is about 4.5" in diameter. Cut the wire flush when you finish wrapping.


Step 6: Cut varying lengths of your white chain, and attach each piece to one of your 7 stars; One 8", two 5.5", two 4.5" two 2.5" pieces. Then, cut one 7" piece, two 5" pieces and two 3.5" pieces and attach to one each of your star charms.


Attach them in this pattern; 8" star in the middle, followed by the 7" piece. Like a mirror, add the 5" snowflake piece on either side of the middle, then the 5.5" stars, then the 4.5" stars, then the 3.5" snowflakes, then finally the 2.5" stars. Attach all these with your jumprings to the wire loops you made when wire wrapping (in between each bead, not connecting them to the thick frame itself. It should look like this above.


Step 7: Add your jingle bell charms, I used only the silver and gold ones to keep with the theme. Add these in a nice pattern you like, varying the lengths but mirroring each side. I added a silver bell to the bottom of each star. You can look at mine and use it as a pattern. Attach each with a jumpring.


Step 8: To finish the center of the dreamcatcher, twist about 4" of your wire (like in Step 2) but keep straight, and create unclosed loops at each end. Form this into a slight "U" shape, and attach to the side of your dreamcatcher, making sure the loops go in between beads. Then, close the loops to secure the wire.


Step 9: Repeat Step 8, and add this piece to the other side (shown in first picture). Make one more piece, but only using 3" of wire, thread on your last star charm, and attach to the top as shown. Add your snowflake charm to the middle of this star charm with a jump ring. Lastly, cut about 6" of wire, and bead on alternating white pearls and 4mm clear crystals (I used 5 pearls and 4 crystals). Wrap this around your leftmost twisted wire decoration (second picture), then wrap around your other side to finish (last picture). You are finished!
You may need to alter some of the measurements or bead amounts, depending on how big you decide to make your dreamcatcher. Use pattern to your own discretion! 


This is a different take on a traditional dreamcatcher, which makes for a very unique and interesting look. This is also great for people who are not into feathers, or who craft vegan (no leather, shells or animal products). 


You can make this in any color scheme, and with any kind of small cookie cutter to get different shapes! To hang, simply hang from the top or you can tie a small ribbon at the top and use it that way. Whatever way you choose, this is very dainty and makes a chime-like sound from the jingle bells in the wind! My favorite spot to put it is hanging in front of my window; when the light hits it, it sends sparkles flying everywhere around the room. A sure centerpiece for any holiday party, people will want to know where you bought it; imagine their surprise when you tell 'em you made it! They just might want one of their own....


If you share/use/post this tutorial, you must link back to me please. All photos 
copyright Allison Beth Cooling. Do not use photos without crediting me!