My second recipe post- another summery drink!
It's 100+ degrees in Chicago. This summer calls for 'em.
This time, it's my take on a strawberry-lemonade-basil combination. I thought if strawberry and basil went together, and strawberry and lemonade went together, and basil and lemons go together....
wouldn't they all compliment each other?
Turns out the combination is very exotic-tasting. Well, at least for a suburbanite like me.
Anyways, I used sweet basil that I grow on my deck. Do not use other types of basil (like Greek basil or Thai) because these are spicier and I really don't know how your drink would turn out!
Again, feel free to alter some of the measurements to fit your taste; like my last drink, there are no totally specific measurements. This drink is NOT going to be super sugary sweet and fake tasting, like many bottled lemonades and such. We are using real lemons here people, and no corn syrup. It will be more like a tea of sorts!
This makes one drink.
Step 1: Gather ingredients. You need a half of a lemon, a leaf or two of sweet basil, and a handful of strawberries. The strawberries I used were from my garden, so they were the size of grapes! If you use bigger ones, it will give it more good strawberry flavor, so that's ok. I used an organic lemon so it was a bit smaller as well.
If you don't like the flavor of basil, feel free to swap in raspberries or maybe even mint, but I can't vouch for the taste here. Experiment!
Step 2: Place all chopped ingredients (except lemon) in bottom of glass. Squeeze lemon juice over top, discard lemon.
Step 3: Muddle with a wooden spoon or if you're fancy, use a muddler.
Make sure you muddle till everything is a pulp, get all the juices out.
Step 4: Add in 6 oz of water. You can also swap regular water for club soda if you like the fizz! Mix.
Step 7: Now, strain this mixture through a fine sieve into another cup, pressing down to get all the juices through. Rinse out your first cup, and pour the strained drink back into the cup. Sweeten with honey, raw sugar, or whatever you like. I only used about 1.5t and it wasn't very sweet, but that's how I like it. If you want it sweeter, add more.
Add ice, garnish with a lemon slice!
 |
| It turns a beautiful color! |
All photos and instructions copyright Allison Cooling for Quiet Lion Creations.
If you share/use/post this tutorial, please link back to me. It is much appreciated!


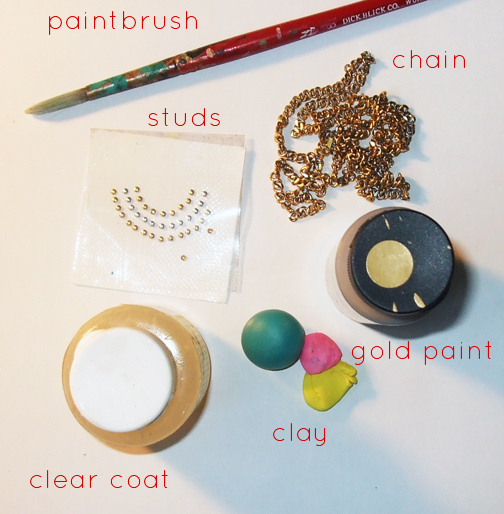
 , Triple Thick Gloss Glaze
 , a paintbrush, Gold Acrylic Paint
 , a long chain, and Round Stud Rhinestone Nail Art Decoration
 . You will also need a length of thick wire or a headpin with a loop, and a jumpring.


