This Anthropologie Stormy Sea necklace is an oldie but goodie; I have been wanting to make a tutorial on this for a long time, and finally got around to it. What I love about it, like any Anthropologie item, is the uniqueness of it. It features drop beads and closes with a cotton tie. Plus, statement necklaces are totally in fashion right now. Designers like Kate Spade are totally on board with the trend!
*EDIT* Today, a day after I made this post, I got my August 2013 issue of Harper's Bazaar. What were the fashion/accessory features throughout the magazine??? BLACK, WHITE, and GOLD accessories. All in that color combo. Designers like Nicholas Kirkwood, Michael Kors and Lanvin's fall collections all feature these colors. What's also gonna be hot is chunky chains, chunky necklaces, and black boots/booties. What's more perfect to make for the upcoming fall trends than this necklace???
Another huge trend throughout the summer has been black and white, basically started by runway shows such as Marc Jacobs back this spring.
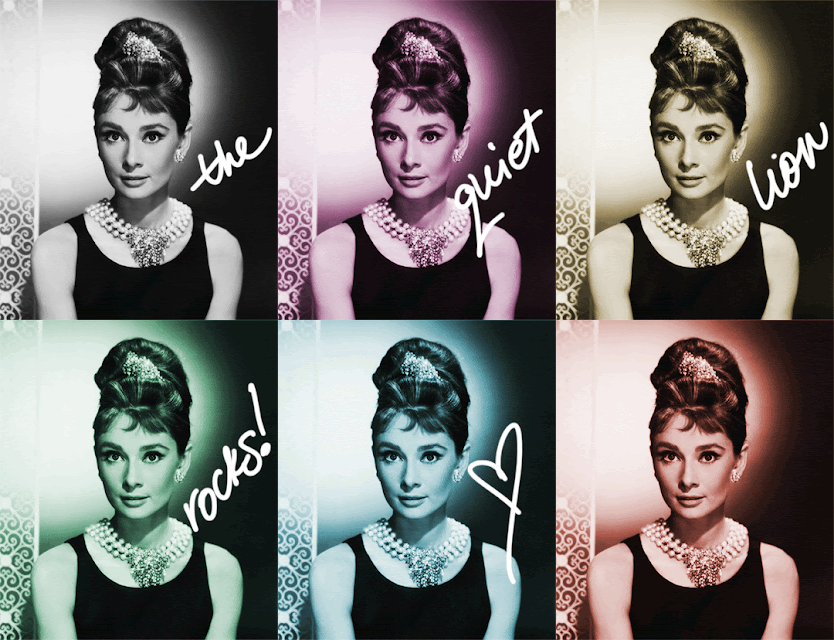
Obviously the trend has caught on. I went to Forever 21 the other day and the whole top floor was black and white! Part of my inspiration for this look came from Breakfast at Tiffany's; total elegance, black and white with a little gold (instead of silver) added in. I just happen to be partial to gold, use whatever metal color you like. I made this tutorial using mostly Cousin products, showing that you can make awesome jewelry without having to spend the $100 and up on "designer" pieces!
This is obviously a lot more glam than the original Anthropologie necklace. You can feel free to alter what beads you use, if you want a more casual feel skip the top drilled gold beads, or maybe switch the crystals for pearls for a new take on Audrey Hepburn's style.
I couldn't help myself, sorry. Like she would ever say that!? Oh well, it's my "artistic license...."
Ok, let's finally get started, shall we?
*mm always means millimeter*
Step 1: Gather materials. Needed are pliers (here by Cousin), a plain white cotton tee shirt, 20mm acrylic briolettes (from Cousin), clear 6mm, 10mm and 15mm acrylic crystals (here by Cousin), 4mm metal beads, 10mm faceted gold beads, top drilled gold metal beads/charms (mine were 1.5" long, and hollow on the inside like tubes), jumprings and crimps, and fishing line (8 pound).
Instead of the top drilled metal charms, try spike charms for a real edgy look (if you're not into Audrey.....) You can find beads like this at Michaels or JoAnn.
I always like to use fishing line because it is clear and you get a lot more than if you buy a small little beading cord package! The kind I have is 8 pound so it is thin and not bulky.
Step 2: Cut about a 4' long piece of fishing line and fold in half. Thread on a jumpring and crimp, and at the halfway mark secure on the jumpring by crimping the clasp. It helps to use a bead board to lay out the composition of your beads. This is going to be the shorter strand of beads, so that the strand will be about 12" long. I started out with the 10mm crystal, alternating with metal beads, the briolettes and the metal charms, adding a large 15mm crystal in the very center.
Step 3: After stringing on all the beads for the shorter strand, use the other empty fishing line to create your longer strand. I played around with my composition; most importantly, you want this strand to be longer, mine was 14".
I started by adding two (NOT THREE as the pic shows, sorry) 6mm crystals alternating with the metal beads, then used my 10mm crystals and faceted metal beads here (view pic below to see what combo I ended with)
The center of this strand has that metal faceted bead, and the beads lay nicely with the briolettes alternating spaces. When your strand is finished, add a crimp through both empty ends, then a jump ring. Thread back through the crimp, pull the line tight (not TOO tight though, you want a little bit of wiggle room) and crimp shut. Cut excess line off.
Step 6: Cut four long pieces of your tee shirt (I went around the stomach area, about in .5" wide strips), and thread two through each jump ring. To tie, simply gently knot the strips together!
This really creates a statement! Pair with a totally on-trend black and white check dress (here, from Generation Bliss) and simple black peep-toe heels for a totally chic look!
Even though these gems are acrylic, they definitely sparkle.....
GOLD+BLACK+WHITE= totally awesome. In my book.
And to end with a theme quote: "Anyone who ever gave you confidence, you owe them a lot".
-Holly Golightly, Breakfast at Tiffany's, 1961
Instructions and all photos copyright Allison Beth Cooling. Don't post this tutorial or any of my pictures without crediting me, and don't claim as your own please!


I would have used those if I had them. I like spikes!
ReplyDeleteI love it! And I love how you photographed the necklace with sexy heels! This is red carpet worthy Allison! :)
ReplyDelete