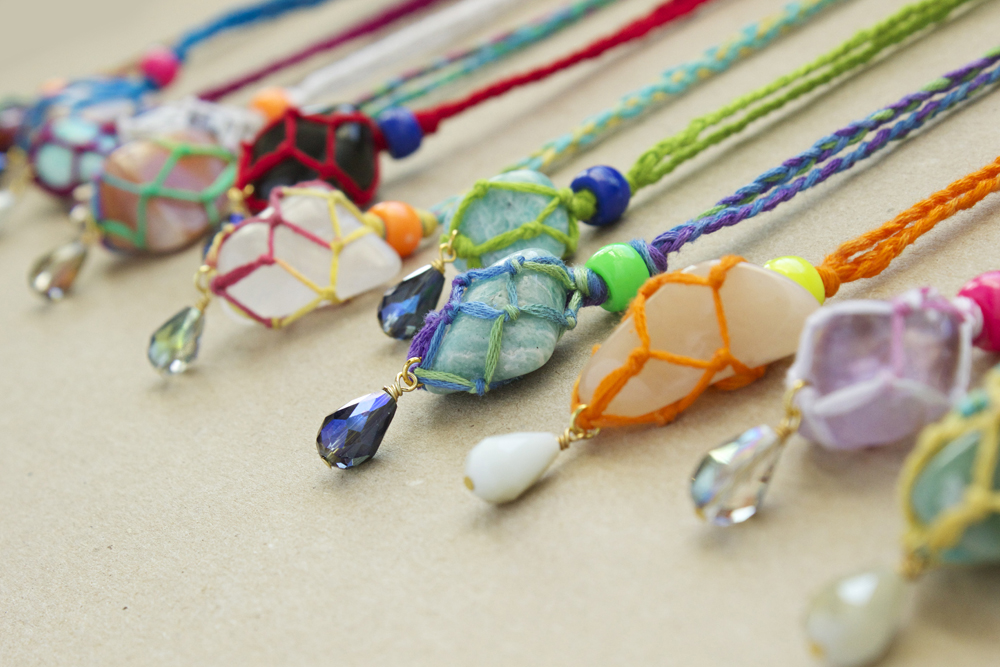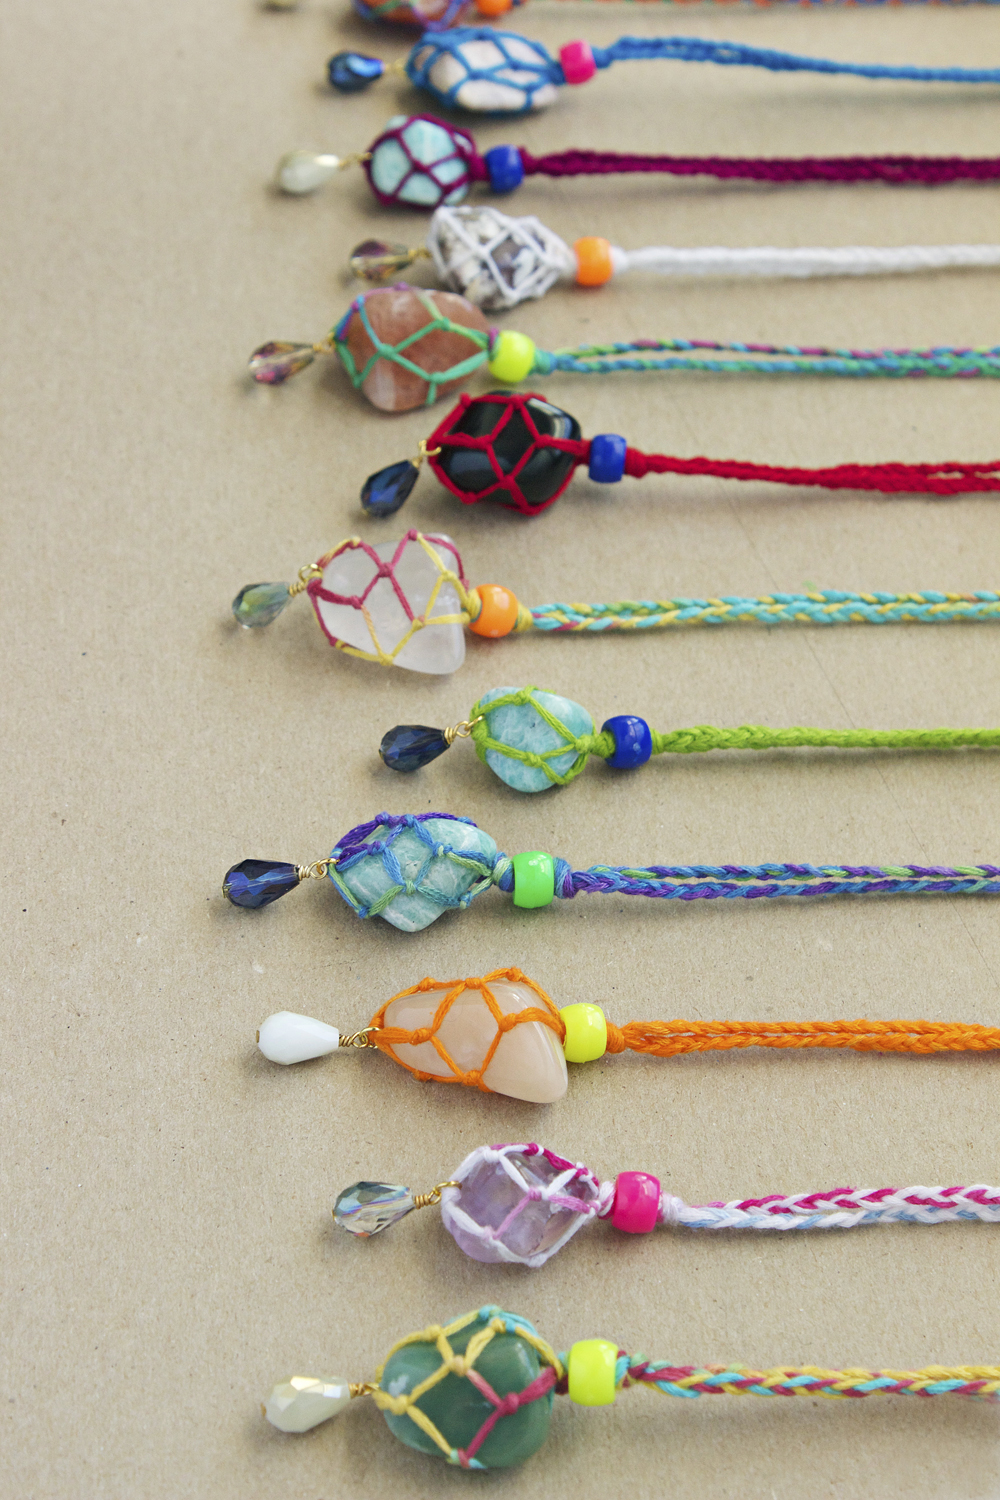
A sea of rainbow colors, polished gemstones, sparkly crystals and overall good vibes.

This is a project that I've been hiding for a while - a while back I got a request (from my cousin Eric) to make some colorful necklaces for his friend Diego's mom and sister. Diego was an exchange student from Ecuador, and Eric wanted to send Diego back with some presents for the family. Of course, I thought, that's a great excuse for me to make some jewelry (but when do I need an excuse?!)...

So I made two necklaces - one with an Apache tear gemstone dangle (quite similar to the black/red necklace you see above) and another Adventure necklace. If I haven't told you before, Eric (along with his dad) tumble their own rocks. They buy large chunks of earth, with the promise of gemstones inside. They think of it as a hobby - I think of the rocks as awesome additions to my jewelry supplies inventory. What's also great about these rocks is because they are hand tumbled with care, as opposed to bought at a store, I feel they have more powers, in a way…..

So back to the story. These two necklaces traveled to Ecuador to meet Diego's sister, Dome, and his mom. Dome wore her's to school, and the class, along with the teacher, loved it. So, why not make a batch for the whole class?! I surely have enough rocks (yes, bins of them)….and thought that spreading the colors, sparkles and good energy overseas was definitely worth it.

So I first got the info - 12 necklaces I'd need to make, 11 for the students and 1 teacher. The class was an all-girls class, so I didn't need to worry about gender-neutral colors. Dome's school is the Unidad Educativa Nuestra Familia in Cuenca, Ecuador. Knowing how long overseas travels are, I made them quickly to make sure they'd arrive in good time.

As a Cousin Corporation of America Ambassador, I called upon Cousin to grant me with some supplies (other than the gemstones and embroidery floss that I already had) and they happily gave me my requested beads and findings.

I even recorded how I had made these gemstone necklaces, just for you all! It's a macrame pouch that holds these rocks in place. Don't worry, they are easier to make than they look. I just whipped up 12 in no time, you can surely make one without trouble.
Look below.

Step 1: Gather materials. You will need embroidery floss, pliers, gemstones - if you don't have a stockpile like I do, you can get a tumbled stone mix
A special thank you to Cousin for working with me on this project!

I first worked on getting colors pinned down. I made them in all hues, but I demonstrate the steps with white floss so it's easy seen!

Step 2: Cut four equal lengths of embroidery floss. I cut a little more than 4 feet each time and that leaves me with plenty. Tie all four in an overhand knot right in the center of the lengths. Then, divide each side into two pairings of two strings - tie these in knots together.

Now, divide these pairings into individual strings - tie the center two together. Divide these pairings on the lefthand side so you have four separate strings again. Tie each to the one next to it. Look at the picture for help! You should have a little diamond shape.

Do this once again, tying each string to the one next to it like in the last step. It should form into somewhat of a pouch. Stick your gemstone in, then tie a tight knot at the top. I added a bead dangle with a jumpring at the bottom of the pouch. I then knotted on a pony bead for a bright neon pop! To finish, divide the strings into two groups of four- braid each group together and then overhand knot to finish. These will be long necklaces, so no clasp is needed!

I made these mainly in bright colors, knowing kids were the recipients and the fact that they are Ecuadorean, whom as a culture love bold color. I figured the mix of the neon pony bead, elevated a little with the crystal dangle, made for a kid-friendly but still somewhat "fancy" accessory.

Shipping these did take a while, but I was assured by Eric that the necklaces had reached their destination and that the class loved their new bling. Also, if you're wondering, that's a water decal
Here is Dome receiving the necklaces! I had an awesome time picking out the rocks, making the necklaces and packaging them up for shipping. This was my first "overseas" shipment of my jewelry, so I was indeed nervous about them finding their way. Everything went smoothly, fortunately, which makes me eager to do something like this again.
Enjoy!
Enjoy!

COPYRIGHT
Because I take all photos for my blog, the images within this post are all copyright Allison Beth Cooling for Quiet Lion Creations. If you'd like permission to use a photo, email me at allison@quietlioncreations.com

.JPG)
I Love Love these.......very imaginative of you....how lucky are you t have an endless supply of stones?
ReplyDeleteStep 3 looks a bit daunting, but I'm sure it will work out ok, looking at the pictures....don't suppose you have the option to make the pics larger? I guess they are large enough, really...just musing....
I am taking a survey? Do you remember when we read blogs and the font colour was black? Now it seems it's all grey....which is a little difficult for those of us that need reading glasses!!
I am looking forward to making myself one of these....then, who knows?
Much Love & Blessings
Sylvia (also a Lion)...xx
felicidades estan hermosos los collares
ReplyDeleteI started with 4 2-foot lengths of embroidery thread. Now its too short to even be a choker!
ReplyDeleteCute as bug's ears! Glad you sent some for everyone after finding out they loved them! Good deeds are always welcome. Thanks for the how-to!
ReplyDeleteI can't wait to go buy the supplies for this, and use it for a craft project with my daughter!
ReplyDeleteHi these are really beautiful. Do I have permission to adapt the design for jewellery that I make and sell?
ReplyDelete