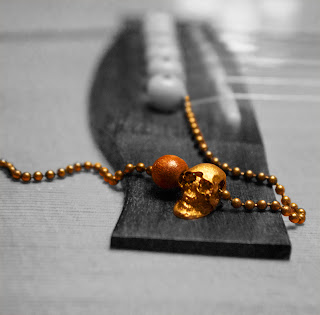
My first men's jewelry tutorial!
This necklace by We Are All Smith features two gold skull beads on a ball chain. I thought it would be a great and easy introductory tutorial, and it comes together really fast. Plus, it's customizable to fit everyone's tastes, whether guy or girl!
I opted for a wood bead instead of two skull beads for contrast and to give it a summery feel. Also, I used antique bronze chain instead of black. As I said, it's very customizable.
This is a great tutorial for all guys, and anyone would love to have this necklace. It's lightweight and simple, great for everyday!
Let's get started!
Step 1: Gather materials. Needed are pliers, a paintbrush, gold acrylic paint or nailpolish, ball chain, a large-hole skull bead, ball chain ends and a clasp (or you can just use a ball chain connector if you have one!). I used antique bronze ball chain. You can use whatever color you want, but I would avoid silver because it wouldn't look as good with your beads.
The original necklace has two skull beads, but I decided to use a skull then wood bead for contrast. If you have two skull beads you want to use, that's fine!
Step 2: Paint your skull bead gold, it took me two coats of paint. Take your ball chain and cut to the length you want your necklace to be. Take your ball chain end, and crimp shut over the last ball on the chain. If you have a connector, don't worry about adding these ends or a clasp.
Step 3: Add your skull bead, and then your wood bead. Add your ball chain end to the other side of the chain now, just like you did in your last step.
Step 4: Finish by attaching your clasp and jumpring to either side of the chain!
Finished!
The most important thing here is to get large-holed beads that will fit through your ball chain! For girls, maybe add a large-holed crystal or pearl bead along with the skull. Experiment painting the skull different colors, or even add glitter for a girl's necklace!
Do not use my photos without crediting me, and if using this tutorial please link back!


No comments:
Post a Comment